background

Wednesday, August 3, 2011

Make a No-Sew Pillow Case

So I'm officially obsessed!  I found a tutorial online on how to make your own no-sew pillow cases.  And I don't mean the kind of pillow case you sleep on, I mean just a fun decorative one!  So far I have made three!  If I don't stop, I'm gonna be the lady that has a million pillows on her bed & it takes an hour to take them all off to go to bed. :)  So I made two a few weeks ago and they are on our bed, so I decided to put this one on our black chair in our room.  Just a few simple steps and you can make one or two (or three) for your own house!  Let's be real people; I don't sew!  I mean like really sew.  Don't own a machine, don't have a clue what to do.  I would love to own one one day and learn to make fabulous things but for now, we will use stitch witchery!

Here are the few supplies you'll need:


A pillow to cover
Fabric
Tape Measure
Pen
Stitch Witchery (no sew hem tape)
Iron
Ironing Board

Here is my said pillow I want to cover:


So the first thing you want to do is measure your pillow.  Mine was 15"x15".  You'll then want to add about 2" to each side (this is a removable pillow case).  Now you need to cut three separate pieces.  The first in a square and mine was 17"x17" (added 2" to each side).  Then you'll cut two more pieces and mine were 17"x12".  To get the 12", all you do is subtract 5 from the 17.  So here you have all your fabric cut:


Now move over to the ironing board.  I like to iron all my pieces so the fabric is nice and tight.  Take one of the small pieces and iron about a 1" hem on the longer side.


Then you'll put the stitch witchery underneath the hem and iron.  Make sure you hold down for about 3 seconds throughout the whole side to make sure it really sticks.

Do that to both smaller pieces. And this is what they should look like:


Notice the hem on the left side.  Next, take the big piece and lay it right side up (pretty side of fabric showing). Take one of the smaller pieces and place it right-side-down on the larger piece with the seam at the top.


Then take the other small piece and put it right-side-down on top of the first small piece with the seam on the bottom.

 
Now you will iron the no sew hem tape on all four sides.  Make sure you wait a few minutes for it to all cool before you turn it in side out.  Once you turn it in side out, stuff your pillow in and voila! DONE! :)


The back
Here it is on our chair (I think I'll keep it here):


So there you have it!  Hope you like it and enjoy making your own!  Dining room update coming soon... :)

Xoxo!

Friday, July 15, 2011

Ahhhhh...The Dining Room

Hello readers!  Whew, I know it's been a while, but once again I have a good excuse!  Being pregnant takes so much of your energy and I just mustered up enough to put this post up BECAUSE I am so excited that we FINALLY bought a dining room table.  YAY!!  We have lived here since December 2010 and have a very nice dining room that has sat empty, or well sort of empty...Exhibit A:


Yeah we still have boxes that MAY need to be un-packed...Oops! :)  And then just random crap.  It's quite embarrassing since you see this room off of the foyer when you walk in! But let's focus on the good stuff.  It's not the biggest room but big enough for a 78" table and 6 chairs and a possible buffet or dresser that looks like a buffet.  Our table is being delivered tomorrow!  Yes!  Can't wait.  Anyways, here are a few more pictures of this room.


Love the chair rail that's already in there for me so I don't have to do it :)  We will be painting the wall under the chair rail white and we will re-paint all the trim a crisp white.  The color above the chair rail will be a beautiful blue color.  We are going to choose a very light blue since the table we bought is a dark coffee color.  Look at this AWFUL light:


Who the heck would put that in a formal dining room?  Yuck.  Luckily my mom has a chandelier that she doesn't need anymore and I more then happy to take it off of her hands.  It just needs a little spray paint.  Look at the fabulous bay windows:


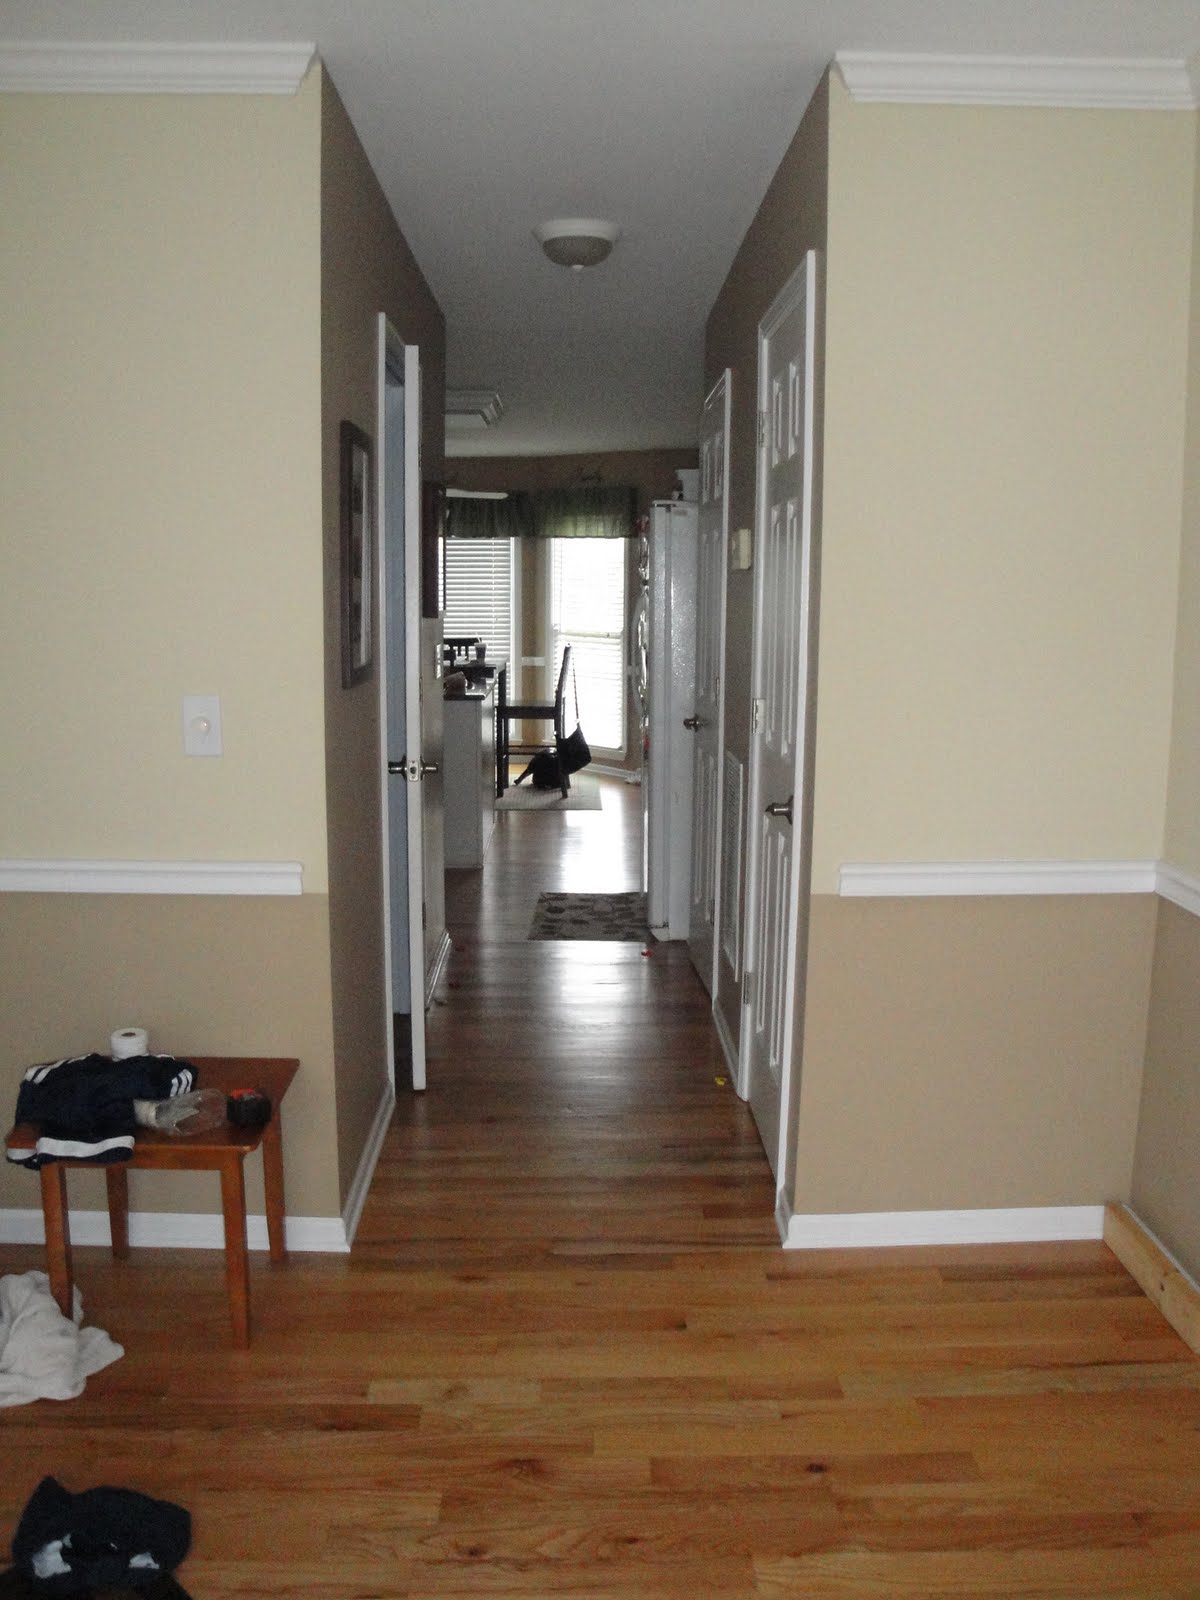
I'll obviously do some fab curtains, just haven't decided what color/pattern.  Here is one more view of the dining room that faces a little hallway that leads to the kitchen.


Thinking of maybe painting the hallway the same color blue as the dining room just to tie it all together.  Then I'll be adding some fab accessories; beautiful table runner, center piece, some art work on the walls with maybe some molding, ooooohh or maybe some pattern wall paper??  Wow, so many ideas! :)  Liam and I are headed to Pensacola tomorrow for a week, so sadly I won't be able to do anything with the room till we get back.  It's our last little "vacation" trip before he starts school!! (Oh, sorry, can you sense the excitement in my typing?) :)  

Once we get the table in, I'll snap a photo so ya'll can see it!  AND we got an awesome deal, which is just icing on the cake.  Mmmmm, cake.  Sorry, got side tracked.  I'm pregnant, I like cake. 

Have a good weekend everyone and I'll do a quick little post tomorrow once we get the table! 

Xoxoxo!

Thursday, June 30, 2011

And baby makes 4!

Hello to all of my Re-Stylin' readers!  I am so sorry it has been so long that I have posted.  BUT, I have a VERY good reason.  Scott & I are expecting our 2nd baby!!  Liam is so ready and so excited to be a big brother (I think).  When I ask him he tells me "no".  I'll just assume he doesn't know what he's talking about :)  So needless to say, I have had ZERO energy to do anything to this house...and that includes cleaning it!  Seriously folks, no energy mixed with pure tiredness mixed with so much nausea = no remodeling projects right now.

However, you will be seeing some future posts about the future nursery.  Obviously I won't decide anything until we know what we are having.  I'll post some ideas about both (boy or girl).  This baby will probably go into Liam's room right now and Liam will move to the guest room that I re-styled a few months ago.  I know, I know...all that hard work will now be a little boys room!  But we all knew eventually I was going to have to have a nursery :)  The good thing is, I probably won't paint the guest room since it looks like a good color for a boys room.  Liam's room now is a very light blue color so IF we have a girl & I want to paint it pink, it'll be easier to paint over then that dark blue color in the guest room.

So there you have it!  My excuse!!  I will be doing some little projects here and there but nothing major right now.  Hope everyone can understand!  I'll eventually get all my energy back! :)

Thanks everyone!

Tuesday, June 7, 2011

Cost break-down of foyer & other stuff :)

So yesterday, I posted the big foyer reveal but didn't really give too much detail about how much the foyer re-do cost and how to do a few things (such as the lattice work).  I was just to excited to show you the big transformation and figured I could post the details later.  Well, here they are.  Let's do the cost break-down first.

I just have to say one thing - This actually didn't cost me a PENNY because I used gift cards from my birthday (from Home Goods & a Visa gift card from Dad).  But I still want you to see how much it all came to.

  • Glidden Brown Paint - $23.00
  • 5 pieces of Lattice - $18.20 ($3.64 a piece for 8 feet)
  • Rug from HG - $19.99
  • Brown wooden art from HG - $29.00
  • Lamp on table from HG - $22.00 - CLEARANCE
  • White chair - $15.00 from Craigslist!
  • White Paint - Free (already had)
  • Table in corner - Free (already had, from Ikea though, $19.99!)
  • Pillow on chair - Free (stole from guest room!)
  • Other art on walls - Free (already owned)
  • White shelf - Free (had 4 for the office, only used 3 - from my mom!)
Grand Total - $127.19!!!  Not to shabby :)

Ok, so here is the deal with the lattice work.  ANYONE can do it.  You just need to figure out how much you need.  5 8 feet pieces was going to be enough for me since the space I was doing it in, wasn't huge.  First, you'll need to measure how tall you want your vertical pieces to go.  Mine were 32 inches tall.  Then you need to decide how far apart you want them on the wall.  Mine were 12 inches a part.  So that came to 4 vertical pieces on each wall (=8).  So I measured them out and cut them one by one using my exacto knife and then since this lattice is foam, you can just snap it.  I usually get my sandpaper and sand the ends for a nice even look.  After you snap all of your pieces, the fun part starts.  Simply measure out the first piece on the wall and nail into place.  Continue to do that until all your vertical pieces are hung on the wall.  I put about 4 nails in each piece to make sure they stayed.  After the vertical pieces are done, you can now measure out the one long horizontal piece that goes on top of the vertical pieces.  Measure it out, snap, sand and nail.  Boom! Done!  This is what it will look like when you are done with this process:


There are probably some spots that need some filling with some spackle.  I needed to fill a few, seen here:


I know.  Quite a gap.  No big deal - Get your spackle out and just fill it in nice and thick.  Let it dry for a bit then go back and sand it down.  Done!  No one will ever know.  So now you are ready to paint the wall!  I went ahead and painted the boards too just to give it a little extra shine.  Also, it covers up the nails better too.  These are white nails (that I used from a previous project) so you don't really need to, but I think it does look better if it's allll painted.  Here is the end result after 2 coats:


Easy-Peasy! :)  The best part is, you don't need heavy machines like a saw, or a nail gun.  Now if you have those, please use them!!  It would make things A LOT easier and probably faster, but I am a DIY-ER with nothing like that!  Not yet at least...I would love my own meeter saw or Dremel saw and a nail gun, but dang, those are expensive!  We are a family on a budget folks!  You work with what you got, right? :)

Anyways, hope you enjoy this project as much as I did.  Try it at your house!  Thanks again! :)

Monday, June 6, 2011

The big reveal - The Foyer

Hello Friends!  I hope everyone had a lovely weekend!  Boy was I busy!  Saturday was a looooong day.  Had to make a trip to Home Depot in the morning (where I almost got in a fight with some dumb lady!) and then it was back to the house to start my foyer makeover.  Some big news...My sister-in-law (hubby's sis) & one of my bestest friends, Susie Graham got engaged to her wonderful boyfriend, John of 5 YEARS on Friday night!  Congratulations to them!  Can't wait to help plan the big day! :)

So I decided that I was going to put up some lattice board on the lower part of the wall in the whole foyer.  I am so glad I did!  It looks awesome!  Here is a picture of the lattice board all put up before I did my touch ups with spackle and before I painted:


Looking pretty cool, huh?  Well just wait - Here is what it looked like after I spackled some spots (more on what I mean by that later..) and after I painted:


See??  I told you lattice and moulding can make a HUGE difference.  My husband was so impressed by my skills, he couldn't believe A. I knew how to do that and B. That it looks so professional!  Aww, thanks Hon!  He said he would become my manager once I got my own show on HGTV! Ha, we kid! :)  So this did take up a lot of my time on Saturday.  Started around Noon and had the first coat painted by 4.  Then had to stop and make dinner, clean up, clean Liam and put him to bed.  So finally around 9 pm I was able to paint the second and last coat.  2 coats is all it needed (thank gosh!)  

Sunday was pretty easy - Paint the one wall, brown.  That was easy and quick since the wall isn't huge.  That also took two coats.  Then it was cleaning up in there and sweeping and start to put everything together. 

Just as a refresher, let's look at what it looked like before:


 And here is the big reveal:


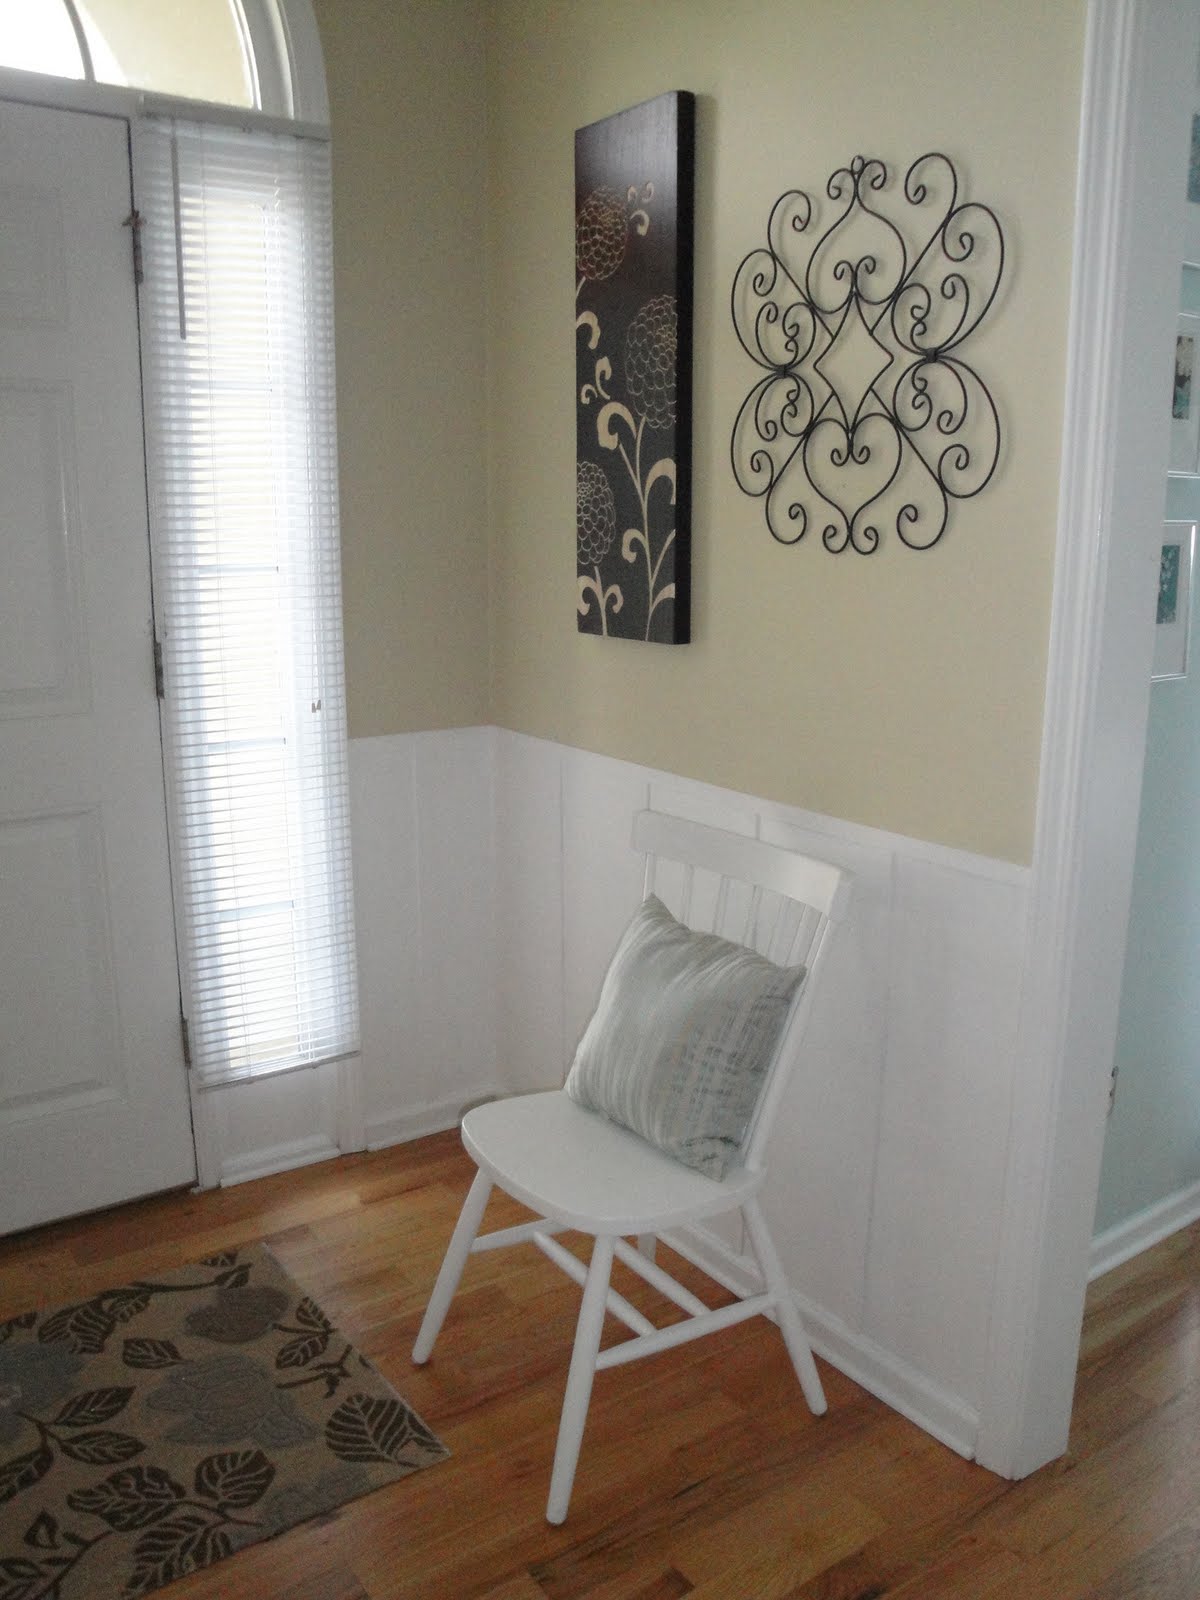
Ta-Da!!!  You likes??  We LOVE!  It turned out so well, I am so happy and so proud of myself!  Everything goes but isn't all necessarily all "matchy matchy".  The best part is that I really impressed my husband which is hard to do sometimes!  I hope you guys like!  I will be posting on another post some how to's and the break down of costs.  I was just SO excited to show everyone that I wanted to post this first!

Hope you enjoy! 

Friday, June 3, 2011

New project alert! Foyer makeover

Hellllooo again!  It's Friday!  Yay!  You know what that means...Foyer makeover! :)  At least it does for me!  I have been thinking for such a long time that I want to re-style the foyer.  You know, it is the first impression people get of your home, so it needs to look awesome, right?  Yes is the answer!  I finally decided what I wanted to do and it is going to look awesome!!  Here are a few shots of the foyer as is:


Blah...Kinda boring, right?  This section above, we will put a little white chair there and a nice long piece of art and a new area rug.  I'm also thinking of making a chair rail and maybe a little lattice board...So many ideas!  I need to keep it super cheap though!


This is the awkward little nook right by the stairs, but the first thing you see when you come in.  The table is staying.  The lamp is going.  Going to replace with a new one, maybe from Home Goods?  They have the BEST deals on lamps.  You will not find lamps like theirs any where else, for cheaper. 

So here is what I am thinking.  I want to paint an accent wall in the foyer.  You'll notice above that I have two different paint colors that I am choosing from right now.  I kind of want the left one.  Bold. Brown. Yumm. :) 


It will really make the foyer stand out.  So stay tuned!!  I hope to have this completed by Monday to show you all (in between cleaning, laundry, cooking..whew!) Here's hoping!  Have a good weekend!

Thursday, June 2, 2011

Leftover materials = New wall art!

Hellllllloooo again!  I just finished another fun wall project!  If there is one thing you will learn about me, or have already learned about me, it's that I HATE bare walls.  I think every wall should have SOMETHING.  You definitely don't want to over do it, keep things simple, but do something!  We have a space in between our eat-in kitchen and our living room.  I already have a nice little console table there, but the wall above the table was pretty bare.  This spot is important because as soon as you walk in the front door and look directly down the hallway, you will see this wall.  Here it is, bare and boring.  I forgot to take a picture of it completely bare, so you'll see on the left hand side the startings of my project...


I decided to use some of my left over mouldings from a previous project and put them to good use.  First, I measured what I wanted on the wall.  Then I just simply nailed in the moudlings into a rectangle.  Then I painted the inside of it white (using some left over paint).  


And that's what we got!  Next was also easy & FREE.  I had 3 left over frames from my previous wall paper art project that use to hang over our couch and decided to use those.  I printed 3 FREE printables from Sprik Space and slipped them right in to my frames (I have used her free printables before, seen here).  I had some left over ribbon from my scrap booking so I decided to attach some simple black ribbon to the back and give it the illusion of it hanging from some door knobs.  That's right, I said door knobs.  This is where the only cost came in.  I went to Hobbs Lobbs and bought three door knobs.  Hobbs Lobbs has TONS of different knobs ranging in all different prices.  Mine were $2.99 a piece totaling: $9.00!


Here is the final product:


All I did was nail/screw the door knobs into the wall and the photos are actually hanging on nails.  The ribbon is just "resting" on the knobs. :)


I'm in love!  It just makes the wall look so yummy!!  Here is a view from the front door:


Umm, please excuse my son's blocks on the floor.... So you can see that you will notice it as soon as you walk in.

Ta-Da!!!  Here is the total cost break down:
  • Moulding - Free (left over)
  • White paint - Free (also left over)
  • Frames and prints - Free!
  • 3 Door knobs - $9.00
There you have it folks, another inexpensive way to dress up your walls.  Even if you did have to buy the moulding, it is CHEAP. $2.09 for 8 feet.  Total for my project: $9.00!!

Thanks again for reading! :)